
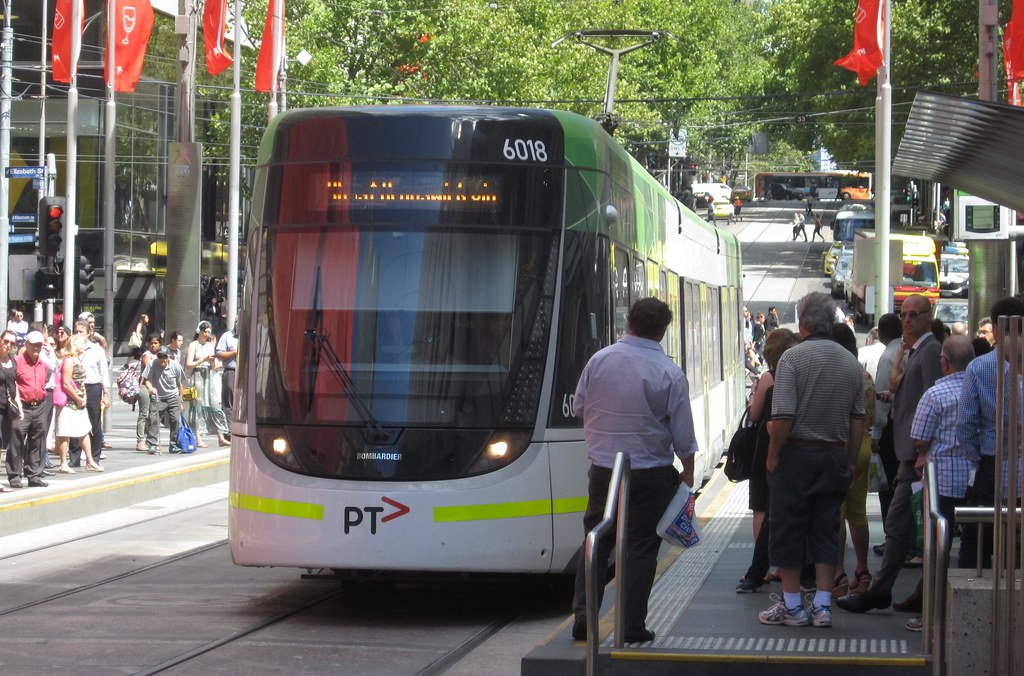
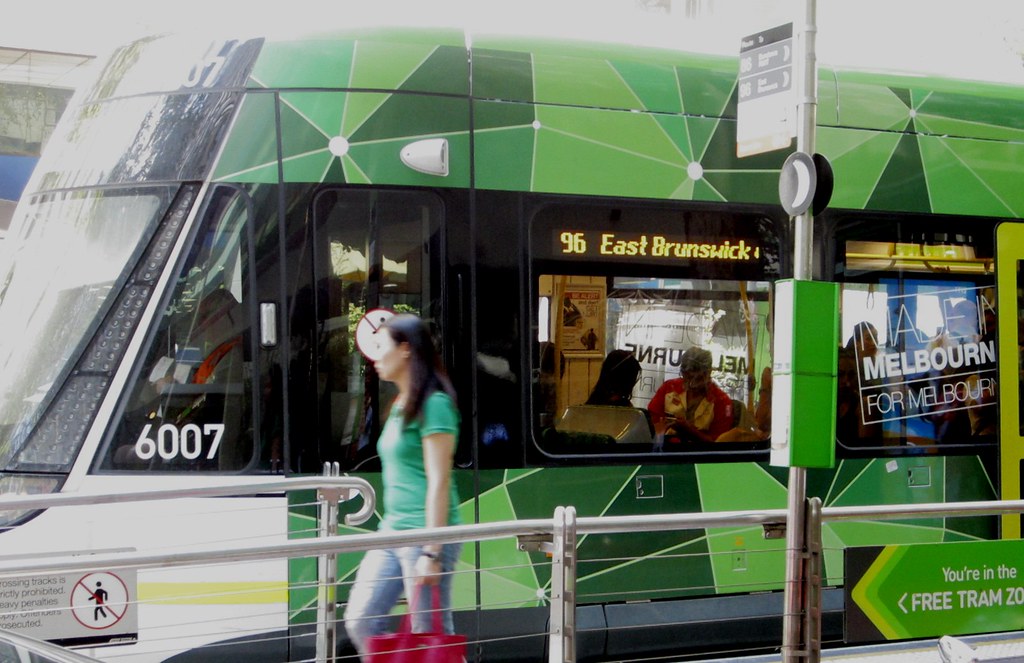
LED displays are quite common on public transport. For instance in Melbourne they are used for destination signs on many trains, trams and buses. They are also used for street Smartbus indicator signs, and for non-CBD railway station “PIDs” (passenger information displays) showing next train departures.
While they are generally pretty easy to read, they are difficult to photograph well. It’s common to see displays in photos that are blank, mostly blank, or garbled, even in professional publications.

The problem is caused by a refresh rate that makes the display clear to the human eye but may not be captured by the camera if it’s not set correctly.
For those of you who commonly photograph public transport, it’s worth getting it right. A photo with a blank or garbled display doesn’t reflect what people actually see.
I’ll refer below to the various types seen in Melbourne, but many would be common across the world.
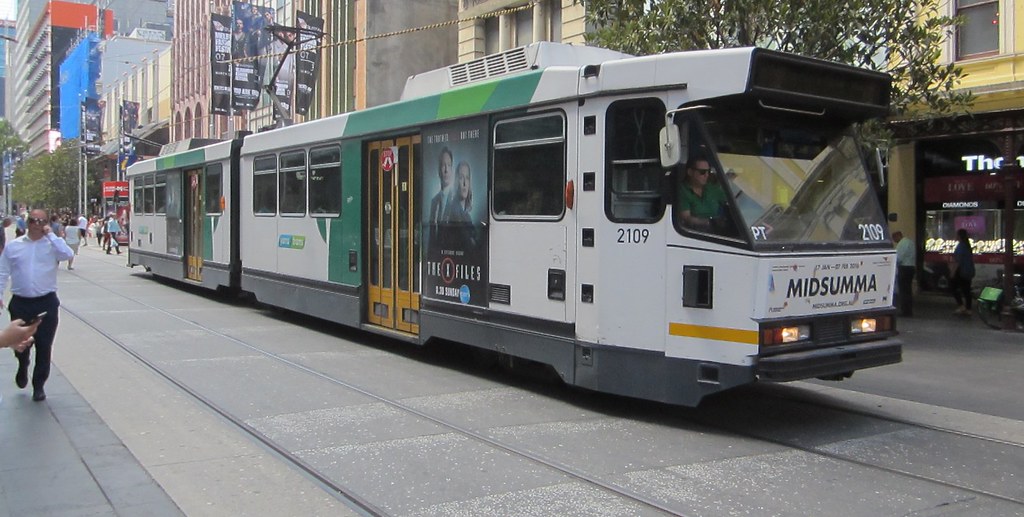
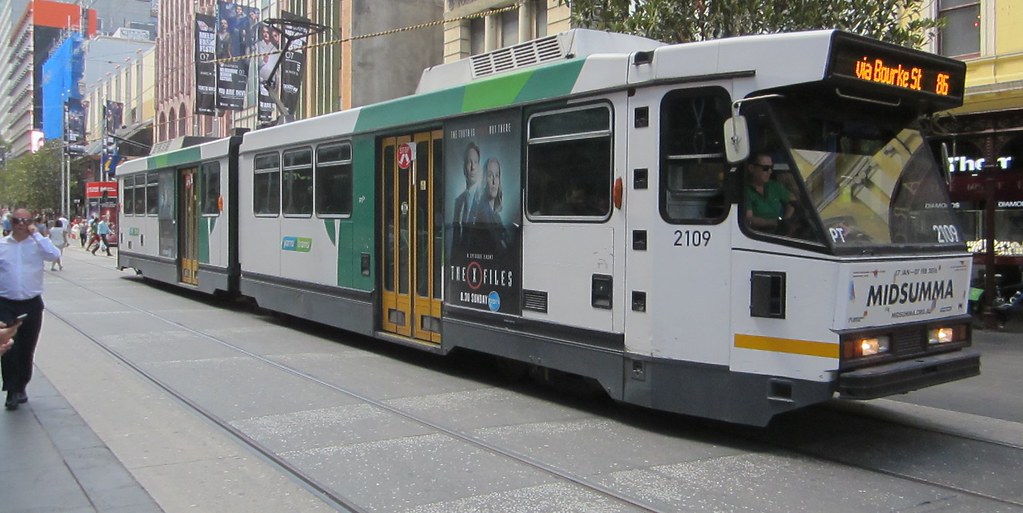
With some types of LED displays, such as those used on the front of B-class trams, if you just keep snapping photos, you’ll eventually get something good. (Though using the methods below is a probably better way of guaranteeing a good picture.)
For other types of displays, including station and Smartbus Passenger Information Displays (PIDs), and particularly E-class trams, some manual settings are required.
On mobile phone cameras, you may be able to adjust the camera app Exposure settings (the +/- icon) to lengthen the exposure. This has the effect of brightening the entire photo, but at least the LED display is more likely to be captured. You can darken the photo manually later… obviously there’s a limit to how well this will work, but if you’re trying to show the LED display, then arguably that’s more important than correct brightness/white balance on the rest of the photo.
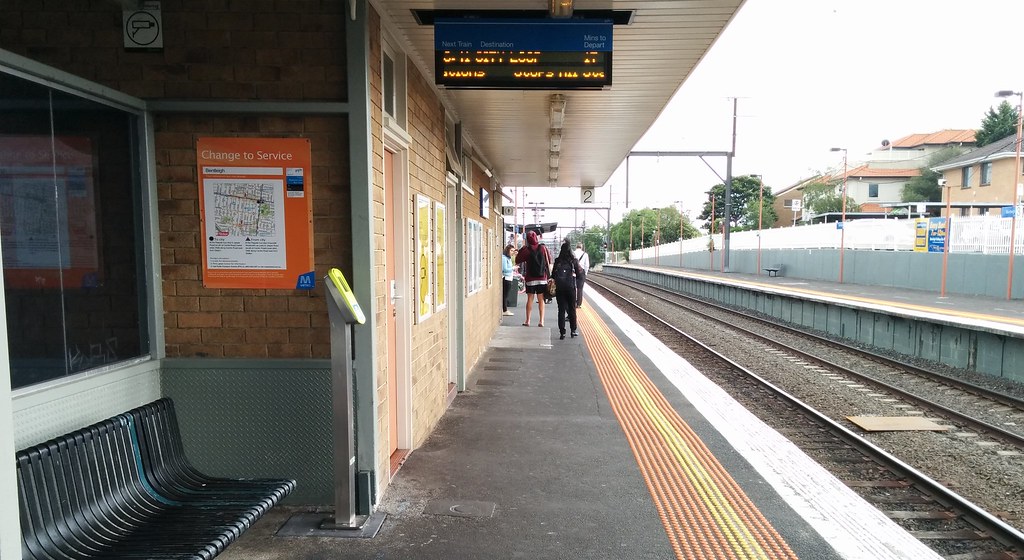
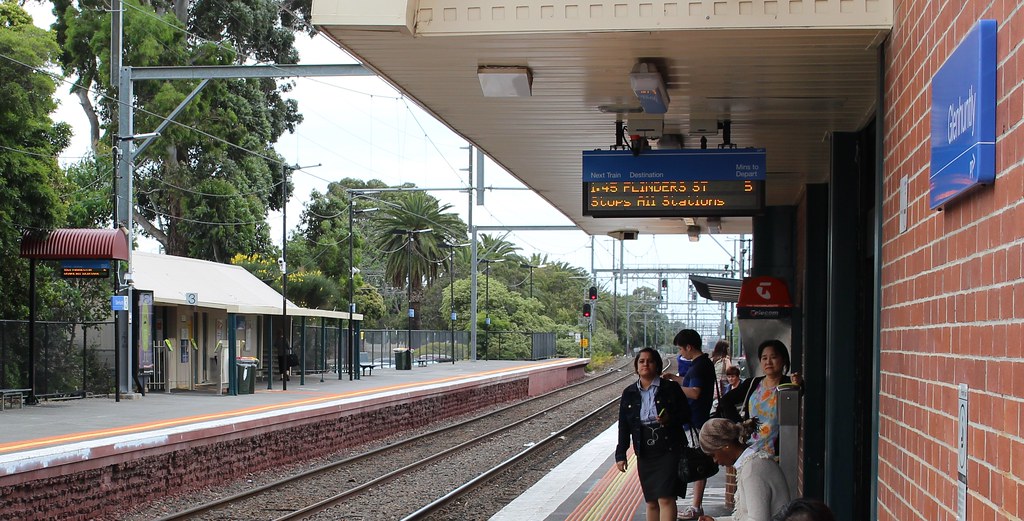
Station PID photo from mobile phone on default settings.
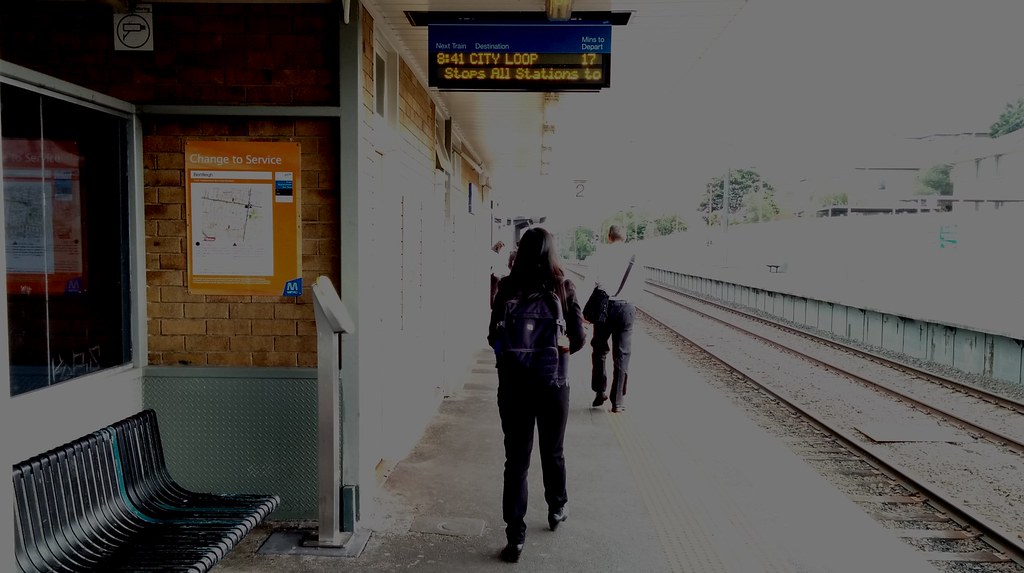
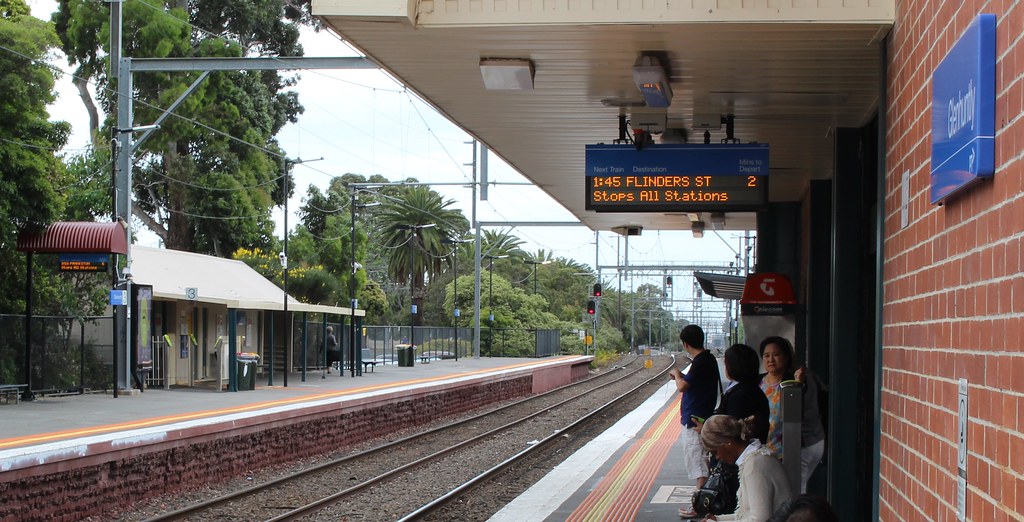
Station PID photo from mobile phone with exposure set high.
On a compact/point-and-shoot camera, it’s a similar story as with mobile phones. I found on my IXUS 115, none of the night or low light modes seemed to work, but bumping the exposure setting up did the job.
E-class tram photo from an IXUS 115 on default settings.
E-class tram photo from an IXUS 115 with Exposure set high.
No surprise that you’ll get the best results from DSLRs.
On DSLRs and other cameras capable of it, the best solution is to lengthen the shutter time. On my Canon DSLR, this is called TV (Time Value) mode — apparently on Nikons it’s “S” mode). Setting it to about 1/30 of a second seems to work well.
DSLR on default/auto settings.
DSLR with TV (Time Value) mode on 1/30 of a second.
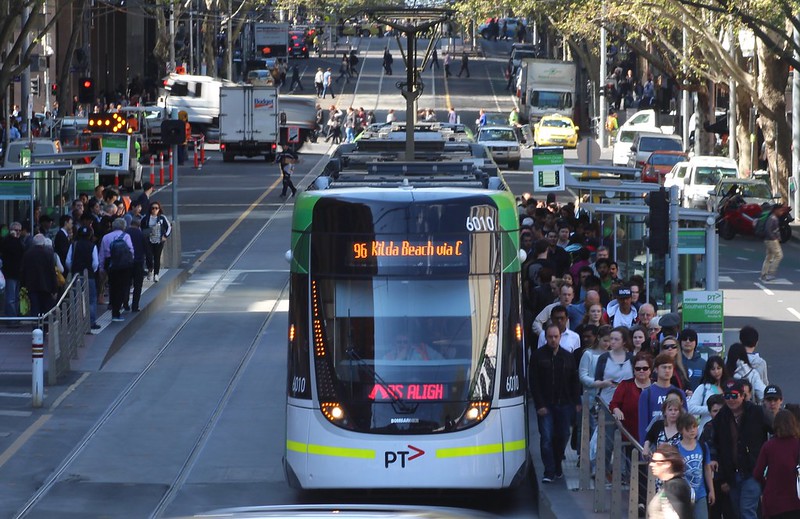
E-class trams in particular add the challenge of the fast scrolling display, but the results can be pretty good — and much better than the mostly blank display from a default shutter speed.
So, the next time you’re snapping something where there’s a prominent LED display, take a bit of time to try and get the best result.
More reading:
- EuroDisplay: About LED display refresh rates
- CNet: How to adjust shutter speed on a DSLR
- Evil Mad Scientist: Photographing LEDs
- Sign Industry: Helpful hints and tips for taking an awesome LED photograph
Any other tips?
6 replies on “Photographing LED displays”
An anecdote from travels in Italy: At Milan railway station – which is huge – after looking around everywhere I used my rudimentary Italian to ask where to reserve intercity seats with our Eurail pass. I followed directions dutifully, but couldn’t find it. I asked three different people who all sent us to the same place, but no overhead LED display seemed to be what we were looking for. Then, as we stood there in frustration, the LED display rolled over and lo! there was what we were looking for. Dumbfounded, we watched it for a while, realising that there were so many options and each one took such an eternity to roll over to the next one, that despite looking at it many times, we’d never had the good fortune to see the one we needed. Moral: set aside five extra minutes to make sure you’ve read all the LED displays, even if you don’t understand what most of them say!
One other way to handle it (eg, if photographing something moving at speed) is to use Gimp (or Photoshop) afterwards, to fill in the display. Someone in the PTUA is clearly adept at this, given I see trains with “Rowville”, and trams with “75 Knox” (in newsletters, etc).
ALERT: The (EuroDisplay:) “About LED display refresh rates” link is borked (not a valid URL).
@Kiwi Nick, thanks, fixed the link.
I think it’s cheating to fake the display, unless it’s mocking it up for a destination that doesn’t really exist!
[…] in the top photo, I broke my own rules about photographing LED displays; need a longer exposure […]
[…] (Apologies, I have broken my own rule here and neglected to get a good photo with a camera that properly captures the LED displays.) […]